Hello Beautiful One Layer Card
- Jul 25, 2017
- 2 min read
Every Friday at work I do simple card classes and this is one of my favorites that I have done. This was one of those spur of the moment cards that was just meant to make someone smile. Ugh! Can we please go back to the days when sending letters and notes to people was actually a thing?!?
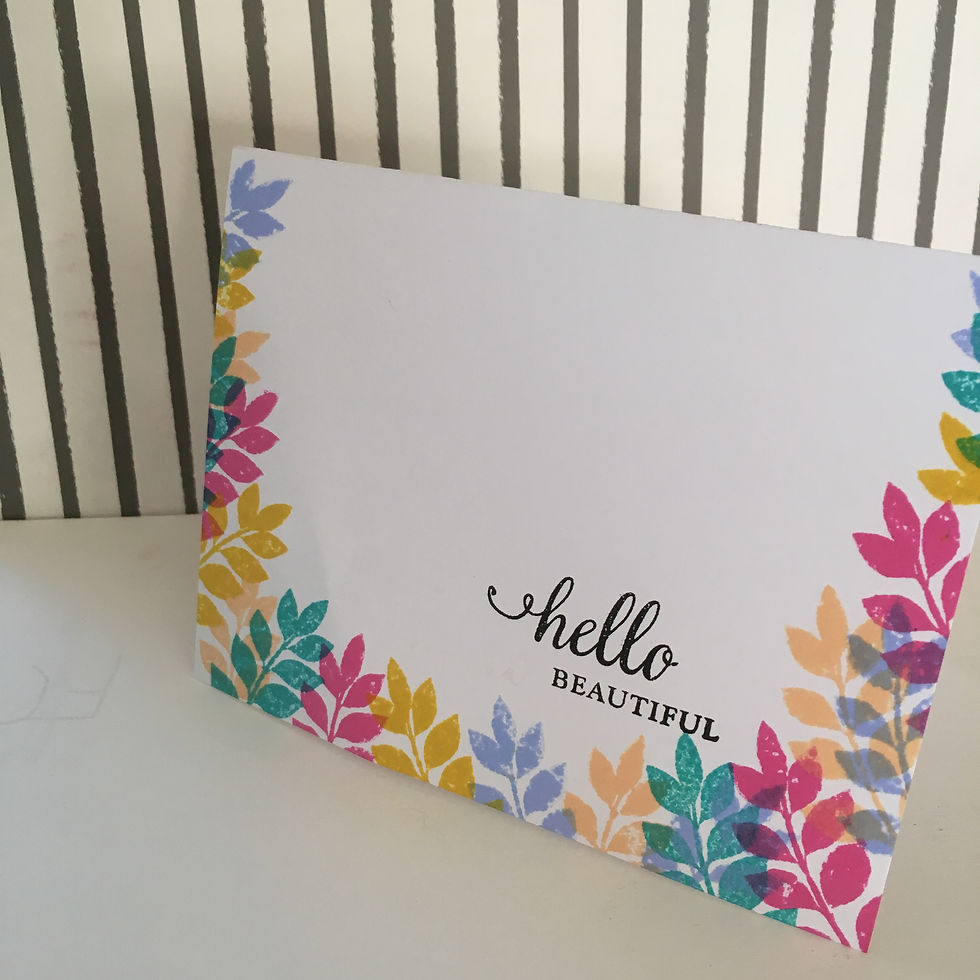
I have a love for one layer cards because they are so simplistic but can look so nice. They don't take a lot of effort either and are great cards for beginners to try without feeling overwhelmed or needed a lot of fancy tools.

I really like the layered look of Distress Inks and since the Oxides came out, they have been put on the back burner. Although they are not as versatile as the oxides, the inks still have a great layering look which ended up being perfect for this card. The colors that I used (from left to right): Picked Raspberry, Peacock Feathers, Dried Marigold, Shaded Lilac and Mustard Seed.

I love Hero Arts Layering Stamps. This is the For You Flowers Stamp. Don't worry, the layering is easier than it looks, but today we aren't going to be using the flower, just the solid leaves.

I started with my Distress Ink Picked Raspberry and put my stamp on my clear acrylic block. You will also need a blank, white card.

Stamp the pink in varying locations. I put a non-stick craft mat underneath to catch the extra ink since we are only half stamping the page. Clean off the stamp to prepare for the next color.

Now repeat the same action with the Distress Ink Dried Marigold.

And Distress Ink Mustard Seed. Remember to clean the stamp in between colors.
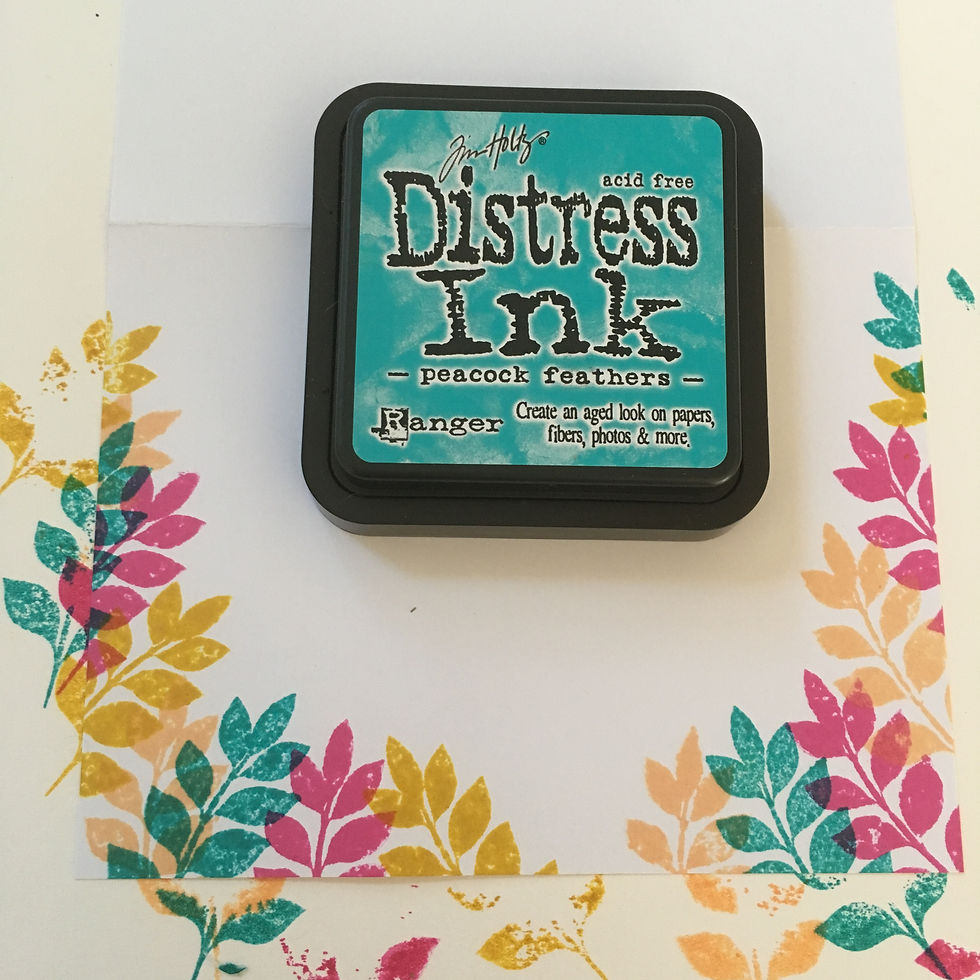
Continue stamping with Distress Ink Peacock Feathers.

And Lastly, Distress Ink Shaded Lilac. Don't be afraid to layer colors over one another.
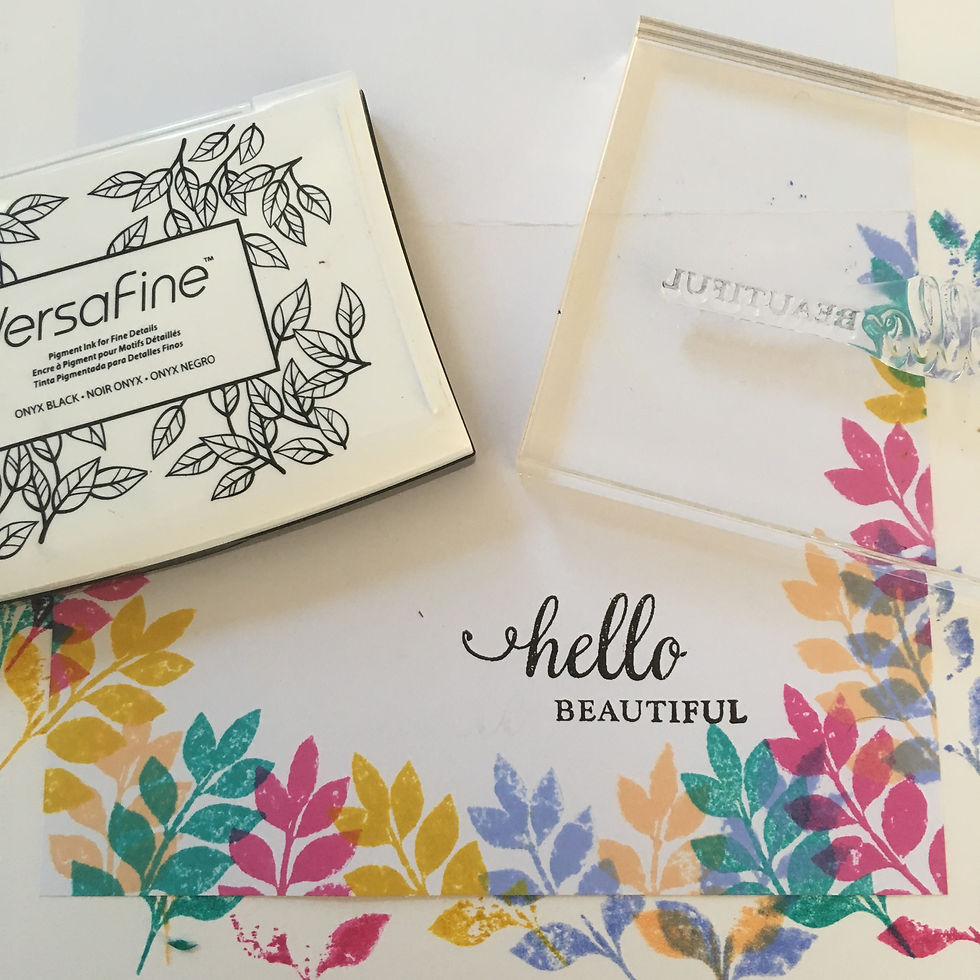
Finally, Stamp your saying in black ink. I used Versafine Black.
And there you go! A nice, simple one layer card to make someone smile.
Be sure to leave comments or send me an email if this tutorial helped you at all. Feel free to send me questions and pictures of your finished projects!
Instructions Written By: Mack
All rights reserved


Comments